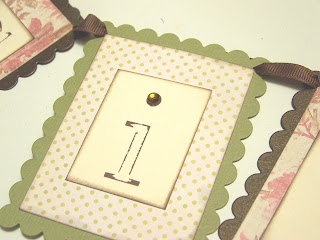
These banners are so easy and cute, you're sure to find several uses for them all through out the year. Let's get started!
I began by cutting the materials using my Cuttlebug and Nestabilities dies. LOVE these things, Ive used them for so many different projects!
 With the exception of the ribbon and a couple of tools, these are all of the supplies I used.
 Notice the little bottle in the top right hand corner. Its called Card Scents and its a new product Ive just discovered that scents your cards for you. This particular scent is called Pumpkin Pie Spice. I'm looking forward to using my Icicles and Christmas Lane scents on my holiday cards this year! Its a light oil substance that you brush onto the edges of your card stock, just like nail polish.
I spelled out Give Thanks in a Word document and customized the font to the look I wanted to achieve. Each letter was then cut by hand (I didn't want them to be perfect in size) and inked around the edges. I then scented my patterned paper. The oil bled through just a little bit so I also inked the edges of the polka dot patterned paper to hide it, which worked out just fine (I'm still experimenting with Card Scents).
 Next, I attached the patterned paper to the scalloped card stock in an alternating pattern.
  Adhering the letters came next. Again, I wasn't too worried about perfect placement or size, I like the randomness.
  I then took my Fiskers ribbon hole punch and punched each corner of the scalloped card stock base, ensuring not to catch the corner of the patterned paper.
  I began with the last letter of the saying, threading the ribbon into the right hand side, behind the card stock, and back out the left hand side. I repeated the process until all of the letters were on threaded by the ribbon.
  I added a simple slip knot to both ends for hanging.
  Using some gems and flowers, I added a few embellishments.
 To finish it off, I added a few ties of extra ribbon to the center point as well as the ends.
  Viola, a holiday banner!

No comments:
Post a Comment